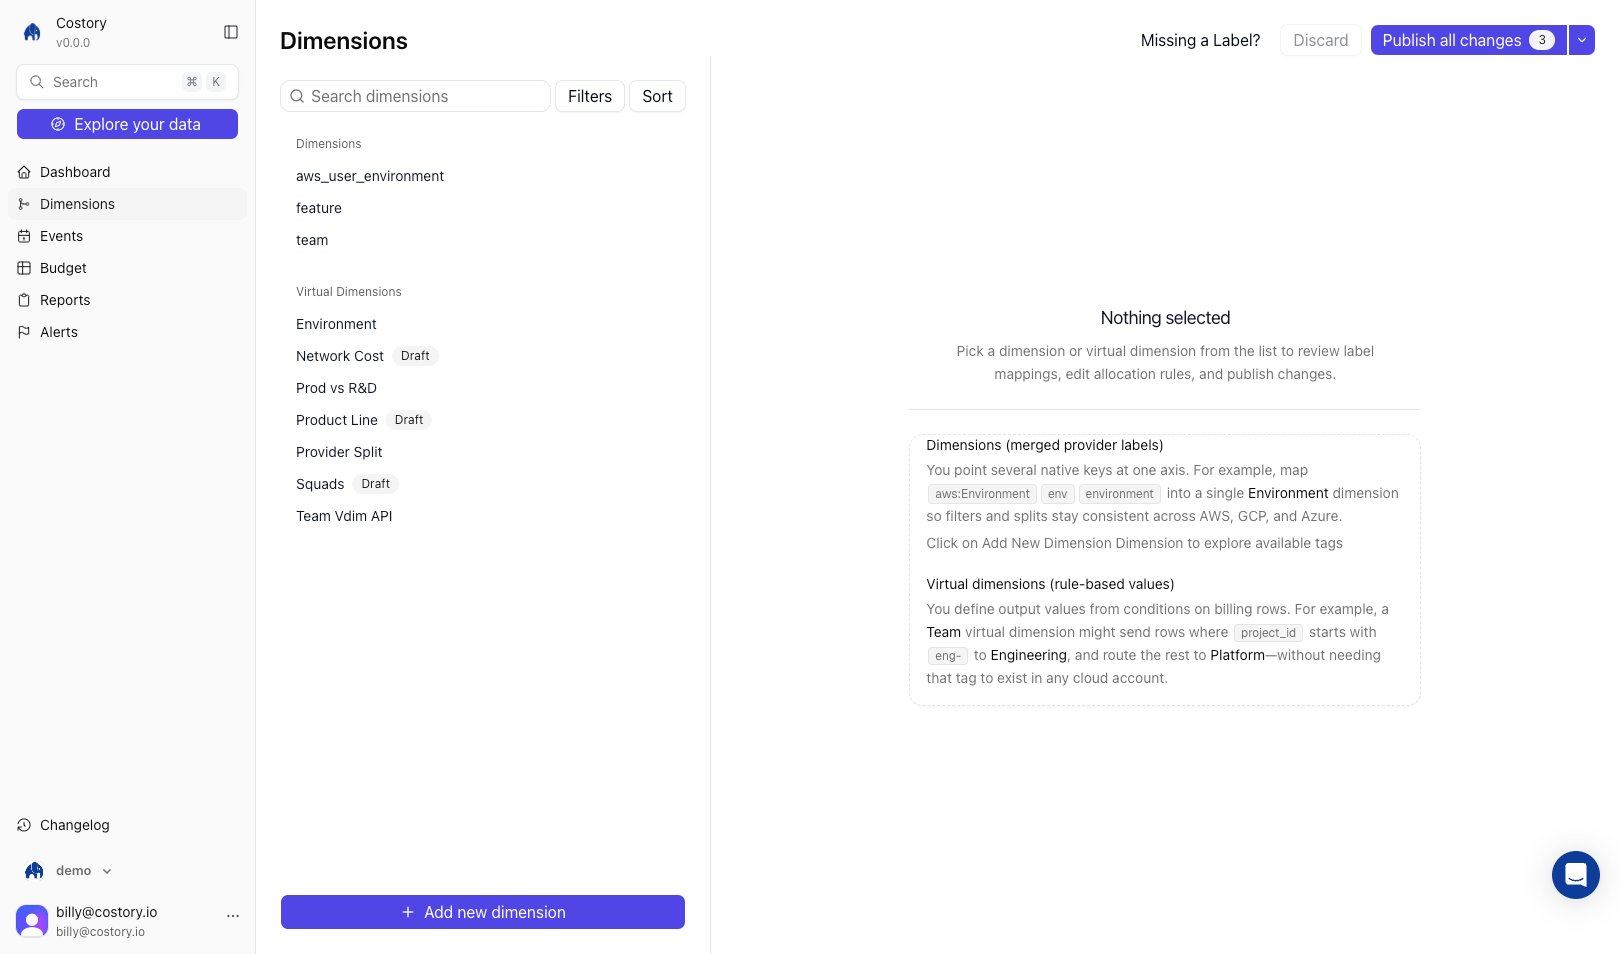
Overview
There are two kinds of dimension. An imported dimension points several native tags or labels at the same concept. Mapaws:Environment, env, and environment into one Environment dimension so filters and splits stay consistent across providers.
A virtual dimension derives its values from rules instead of an existing tag. Each rule is a CEL condition evaluated top to bottom, first match wins. A Team virtual dimension can route rows where cos_gcp_project_id.startsWith("eng-") to Engineering and send everything else to a leftover bucket.
Common uses:
- Collapse duplicate tag keys across AWS, GCP, and Azure into one field
- Normalize values such as
prod,prd, andproduction - Allocate untagged resources to teams, products, or cost centers
- Build shared dashboards, alerts, and reports on stable business fields
Key terms used in this article
- Dimension: A Costory reporting field used to filter, group, allocate, or scope costs.
- Imported dimension: A dimension built from native provider tags, labels, or billing metadata.
- : A dimension whose values come from CEL rules you define in Costory.
- Leftover bucket: The automatic catch-all value for any row that matches no rule. A large leftover share signals a missing or too-narrow rule.
Create a dimension from native tags and labels
Use imported dimensions when the data already exists in your cloud billing export, but the names or values are inconsistent.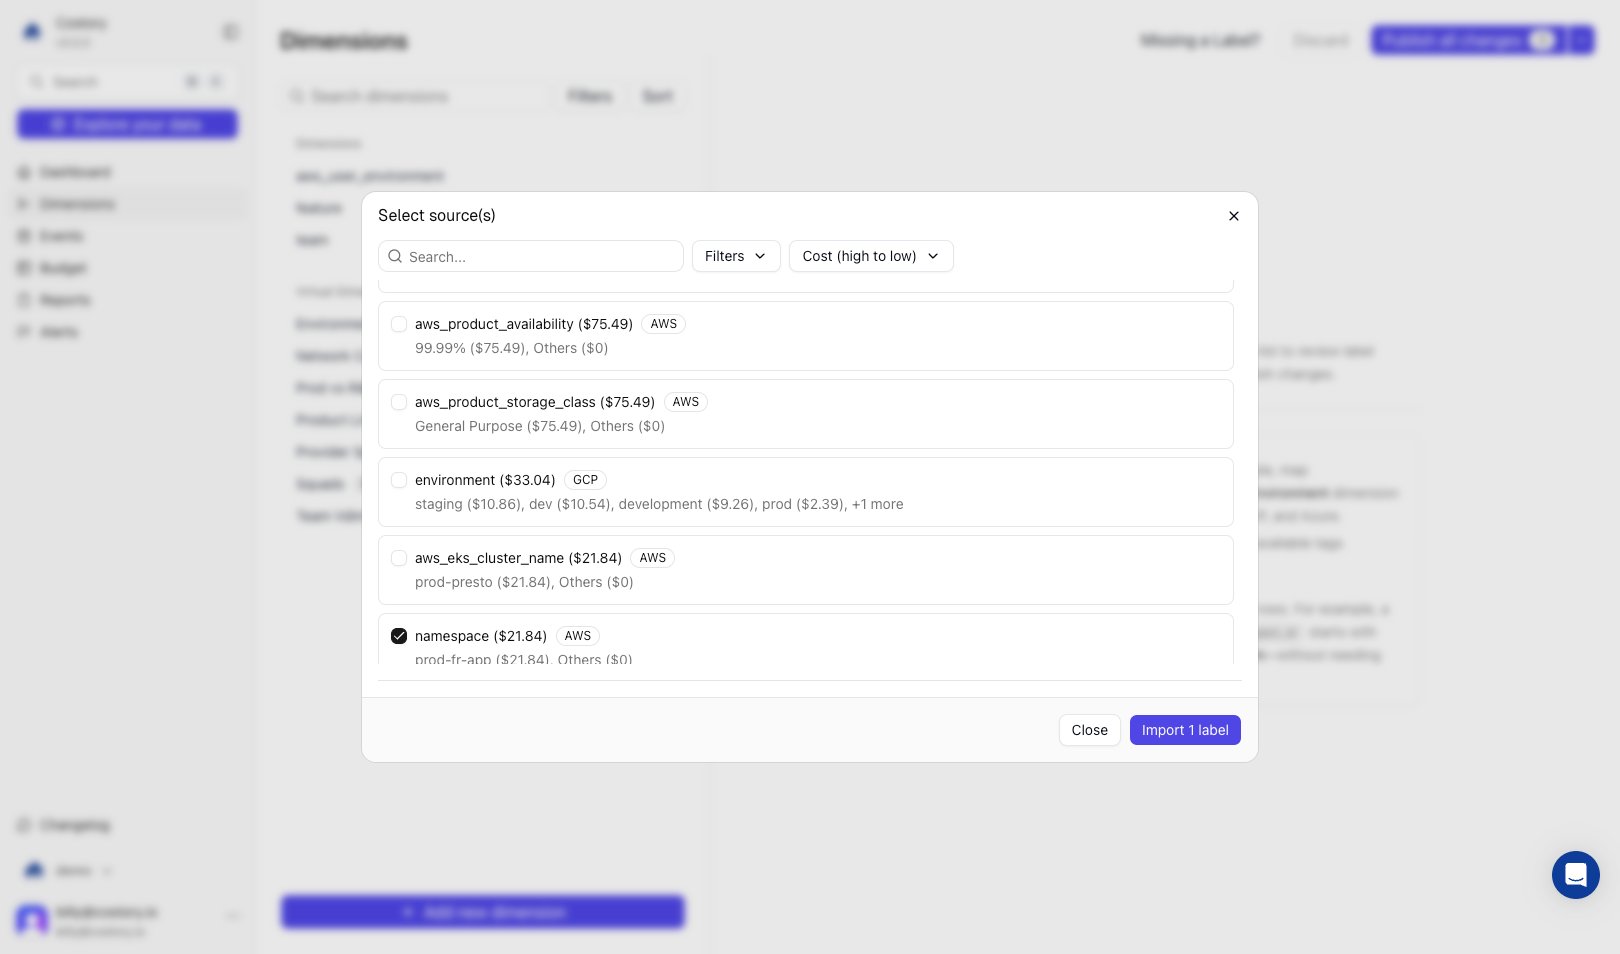
Choose the reporting name
Pick the name you want Costory users to see, such as
environment, team, or cost_center.Normalize values
Review suggested value mappings and adjust them. For example, map 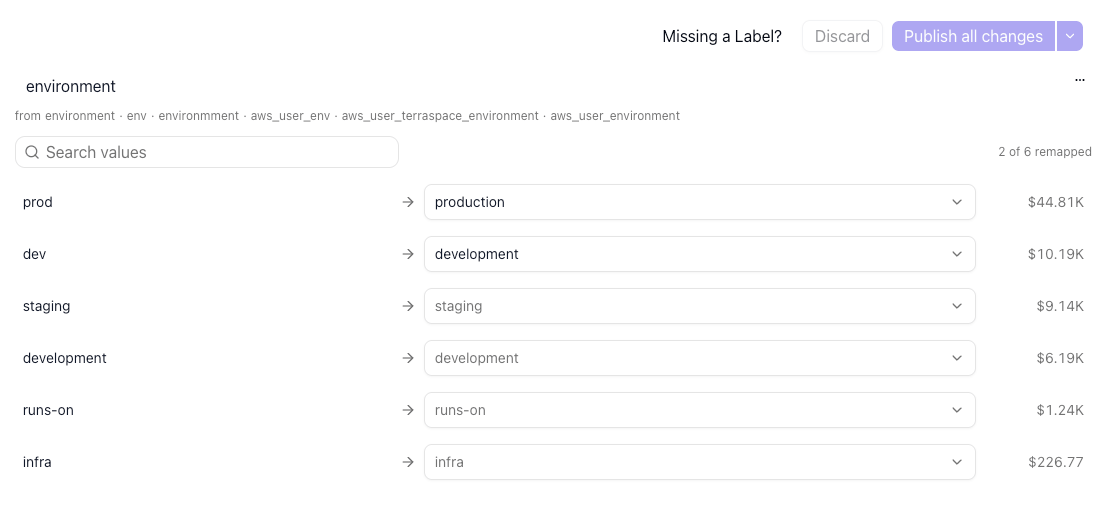
prod, prd, and production to production.Publish
Click Publish all changes. Costory reprocesses historical data so the dimension is available in Explorer, Dashboards, Alerts, and Reports.
Create a virtual dimension from rules
Use virtual dimensions when the right grouping does not exist as a clean tag. Rules can use billing metadata, imported dimensions, or other virtual dimensions.Create the virtual dimension
Open Dimensions, click + Add new dimension > Virtual dimension, and enter a name such as 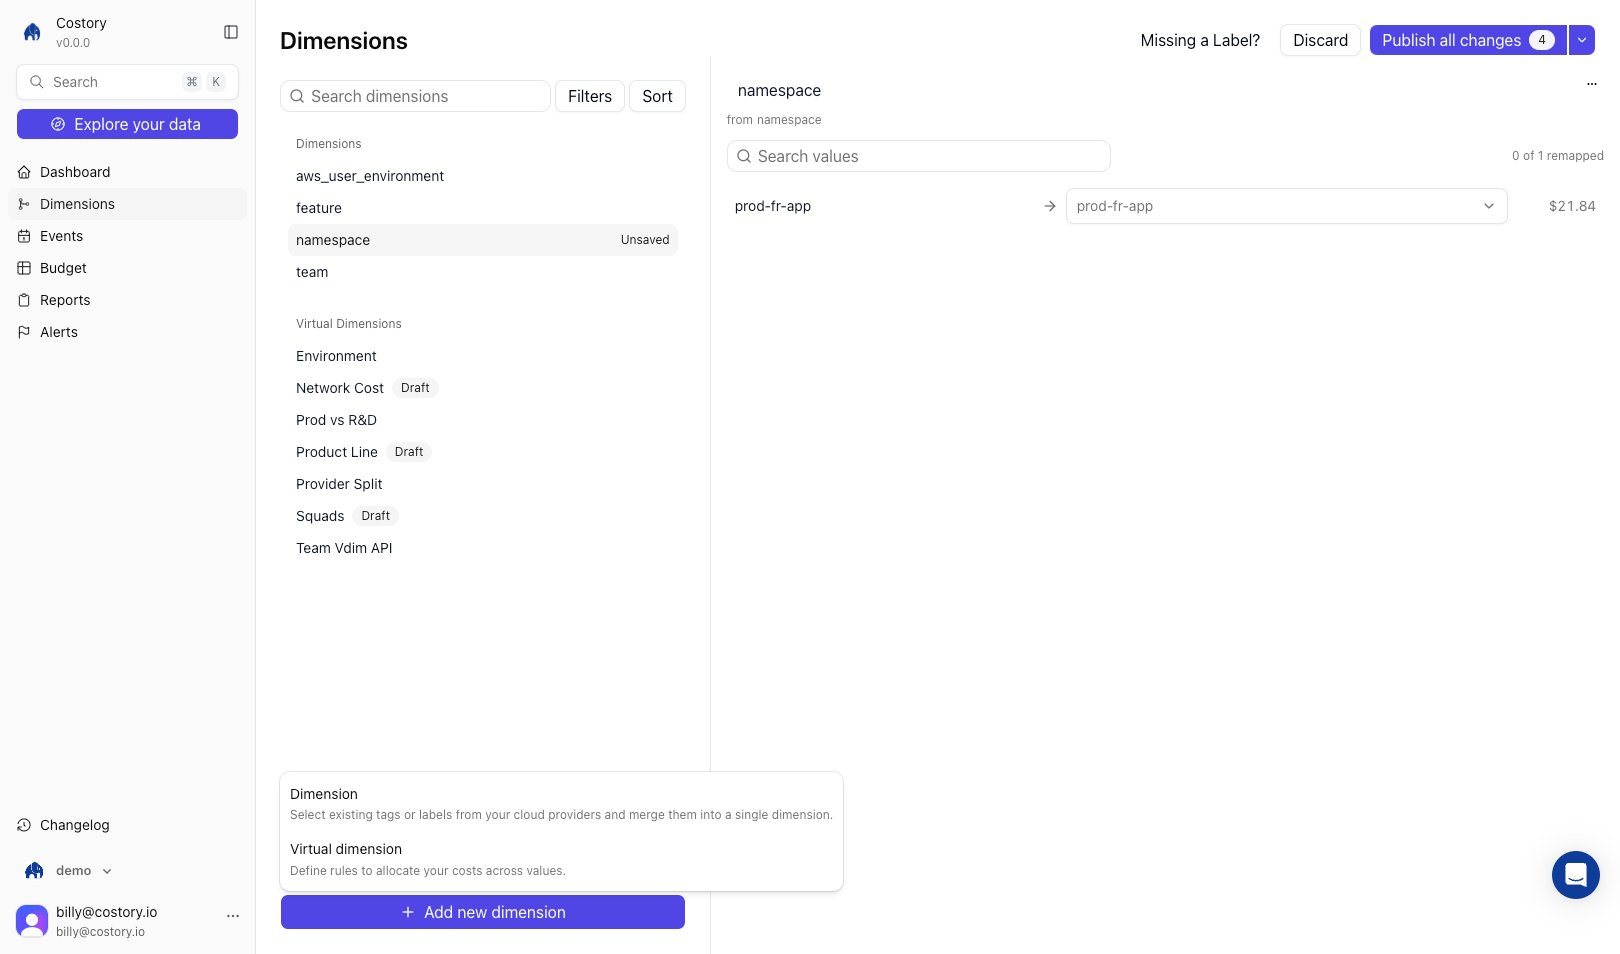
team, business_unit, or product.Define rules
Add conditions that map cost rows to output values. Conditions can use fields such as account, service, resource name, Kubernetes namespace, imported dimensions, or another virtual dimension.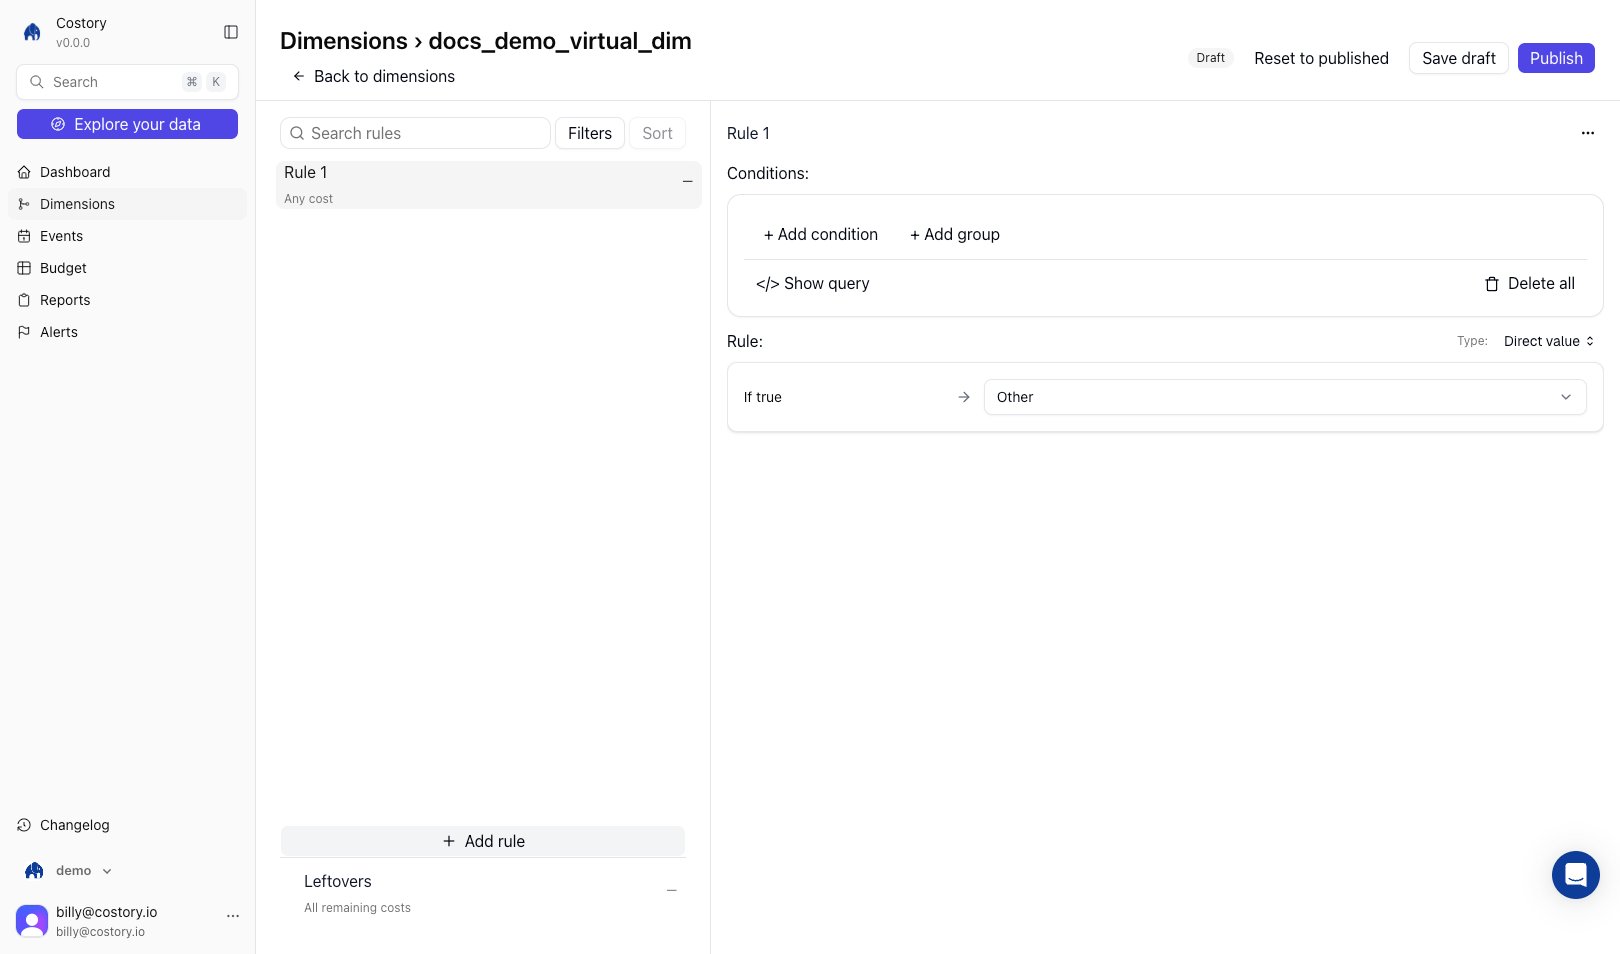
Order the rules
Rules are evaluated from top to bottom. Drag rules into the priority order you want.
Explore and build allocation with your AI assistant
Most of the work in allocation is deciding which field to split on, not entering the rules. Through the Costory FinOps MCP, an assistant runs that exploration against your real spend and turns the result into a published dimension from chat. Before any rule exists, it can:- Surface the values behind a concept with semantic search. Ask for “checkout” and you also get
payment-api,order-service, andcart-backend, so one rule covers related spend a literal match would miss. - Test which field best separates your cost with group-by suggestions and ad-hoc queries, so you split on something meaningful instead of guessing.
- Preview where the money lands. A per-rule preview shows trailing-30-day cost per bucket and the leftover share, so a missing or too-narrow rule is obvious before you publish.
- Flag rules that overlap. The overlap matrix shows when a broad early rule shadows a later one and swallows its spend.
Reallocate shared cost with a usage metric
Beyond mapping rows to fixed values, a virtual dimension rule can split a shared cost proportionally across teams based on a synced usage metric, a telemetry allocation. For example, divide a shared Cloud SQL bill across teams by each schema’s size instead of guessing a flat percentage. Connect a metric source in Setup > Usage Metrics, then add the allocation rule from the web app or through MCP. See Shared Cost Allocation for the full walkthrough and supported sources.Dimension sources
| Source | Examples | When to use |
|---|---|---|
| Native tags and labels | env, aws:Environment, project.labels.team | You already tag resources, but names or values differ by provider |
| Standard columns | Provider, account, service, region, namespace | You need allocation from billing metadata that is always present |
| Other dimensions | environment, team, business_unit | You want a hierarchy, such as namespace -> team -> business unit |
| Usage metrics | Database size, API calls, CPU time | You need shared cost allocation based on actual consumption |
Common patterns
Environment dimension
Mergeenv, environment, and k8s_label_env, then normalize values into development, staging, and production. Use this for environment cost reports and alerts.
Team virtual dimension
Map accounts, namespaces, services, and project IDs to teams. This helps you allocate untagged resources and create team scopes in Teams.Allocation hierarchy
Build one dimension on top of another. For example: When the team mapping changes, every dashboard, alert, and report that uses the downstream dimensions updates after reprocessing.Next Steps
Tag & Allocate overview
See how dimensions and shared cost allocation fit together
Shared Cost Allocation
Split shared infrastructure costs with usage metrics
Explorer
Use dimensions to filter and group cost data
Automated Environment Visibility
Walk through an environment dimension example
Explore allocation with AI (MCP)
Explore your spend and build virtual dimensions from chat