Settings
Costory settings are split across personal account settings, organization settings, and Costory-managed settings. Use this page when you need to update login details, invite members, allow a company email domain, connect data, manage Teams, or review your plan and invoices. Open the user menu next to your name in the Costory app to find most settings. Some account and organization screens are hosted by Costory’s authentication provider because they control sign-in, email addresses, passwords, connected accounts, and organization membership.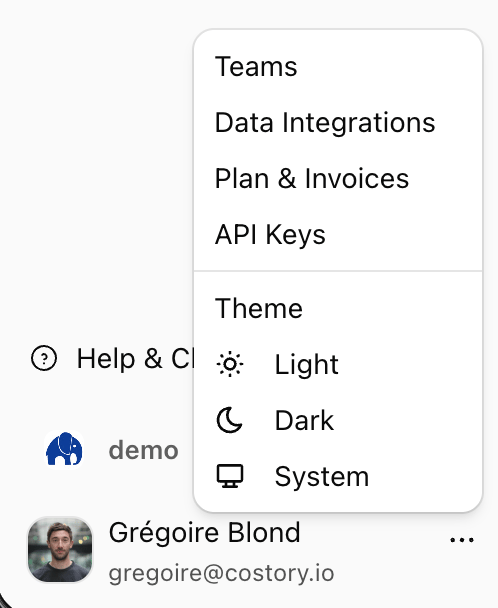
Settings overview
| Settings area | Managed by | Use it for | Where to find it |
|---|---|---|---|
| Personal account settings | Authentication provider | Change your profile, email address, password, and connected login accounts | User menu next to your name, then Profile or Account |
| Organization identity settings | Authentication provider | Invite members and allow a verified company domain for automatic joining | User menu next to your name, then Organization |
| Costory-managed settings | Costory | Manage Teams, Data Integrations, API Keys, Plan & Invoices, and subscription details | User menu next to your name, then the relevant Costory settings page |
If a settings screen looks different from the rest of Costory, it is usually an authentication-provider screen. Changes made there still apply to your Costory account or organization.
Personal account settings
Use personal account settings to manage your own sign-in details. You can usually update:- Profile name and avatar.
- Email addresses.
- Password, when password sign-in is enabled for your account.
- Connected accounts such as Google or Microsoft.

Organization settings
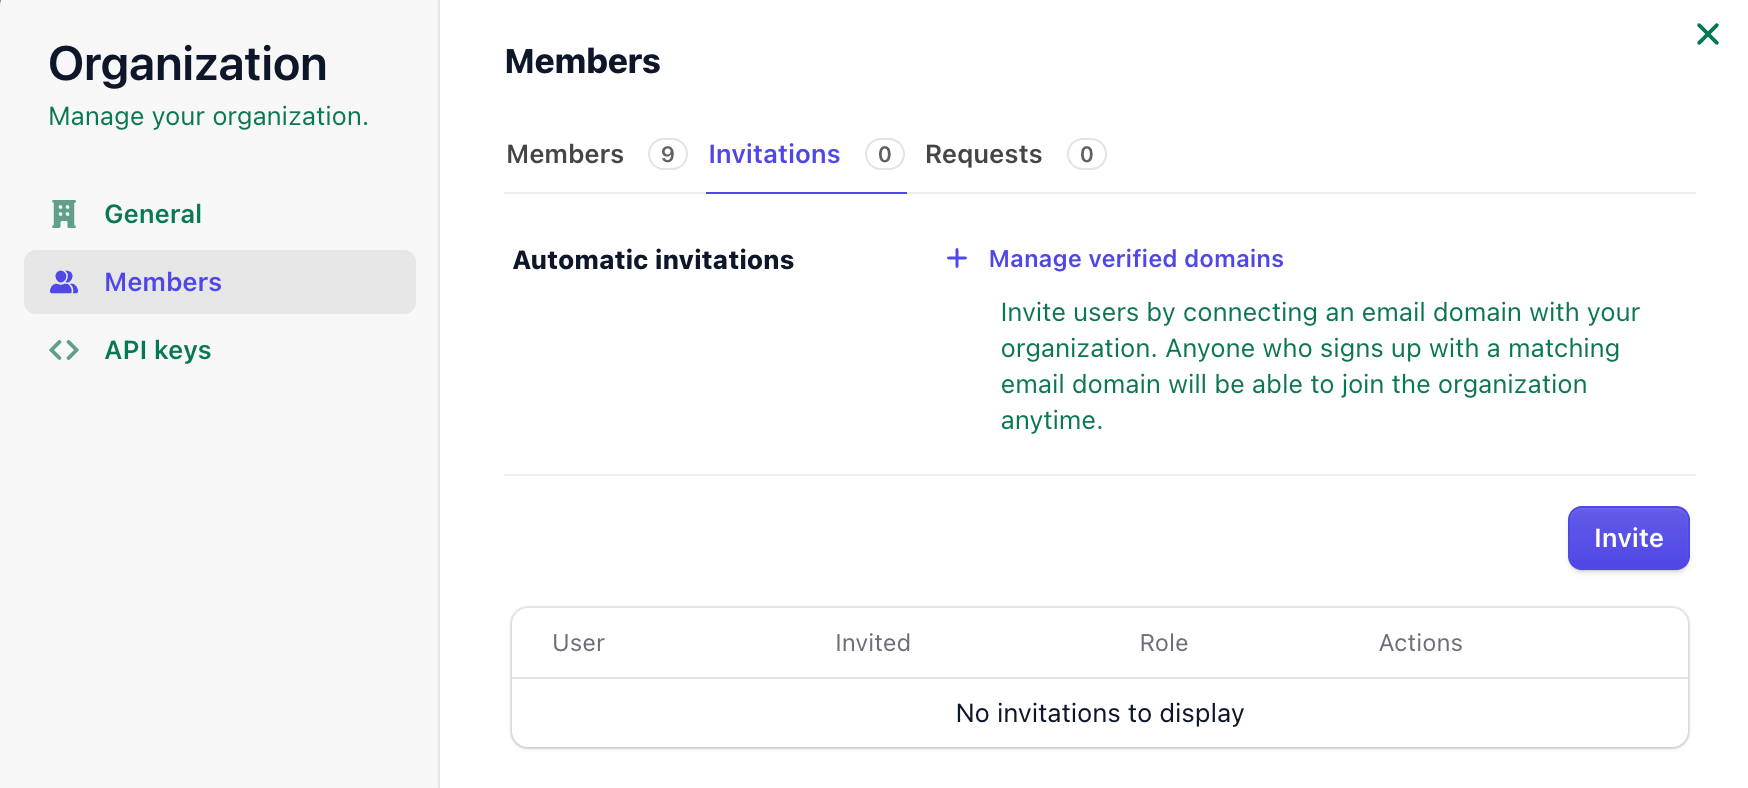
Organization settings control who can access your Costory workspace. Use organization settings to:- Invite new members.
- Review existing members.
- Add a verified company email domain so users can join automatically.
- Manage domain-based access rules for your workspace.
Costory-managed settings
Costory-managed settings control your FinOps workspace configuration.| Page | Use it for | Related docs |
|---|---|---|
| Teams | Create teams, add members, set default cost metrics, and define team scopes | Teams |
| Data Integrations | Connect billing data, usage metrics, collaboration tools, and event sources | Billing Data, Usage Metrics, Slack, Microsoft Teams |
| API Keys | Create and rotate API keys for automation and external tools | MCP, Events API |
| Plan & Invoices | Review your plan, subscription, billing contact, and invoices | Billing Data |
Common tasks
Invite a member
Open the user menu next to your name, go to Organization, then use Members to invite the person by email.
Allow your company domain
Open Organization settings and add a verified domain. Users with that company email domain can join your Costory organization automatically when auto-join is enabled.
Create a Costory team
Open Settings > Teams, click Create Team, then add members and scopes. See Teams for the full setup.
Connect a data integration
Open Data Integrations from the user menu, then choose the provider you want to connect. Use Billing Data for AWS, GCP, Azure, and other billing exports.
Related pages
Identity and Access
Compare auto-join, SSO, SCIM, and identity-provider options.
Teams
Configure team scopes, members, dashboards, and default cost metrics.
Billing Data
Connect cloud billing exports and monitor ingestion health.
Usage Metrics
Add business and observability metrics for unit economics.